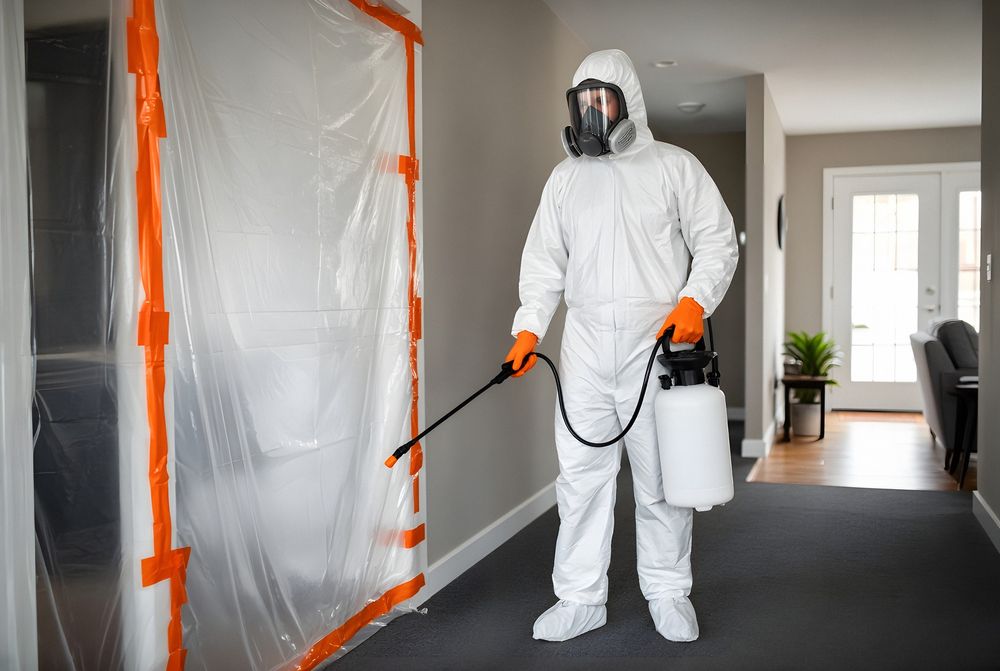
Professional biohazard remediation follows a consistent sequence, whether the job is a crime scene, an unattended death, a sewage backup or a hoarded home. Knowing the steps helps you understand estimates, ask good questions and know what to expect while work is underway.
Step 1: The first call
The process starts with a conversation. A coordinator asks what happened, where, when it was discovered, whether police or a medical examiner were involved and whether the scene has been released, who owns the property, whether insurance may be involved, and whether there are urgent concerns such as odor affecting neighbors, an unsecured door or a business that needs to reopen.
This is also when you should mention children, pets, health conditions, or personal items you want recovered.
Step 2: Site assessment
A trained assessor visits, wearing protective equipment, to understand the full scope. They look beyond visible contamination to where fluids, odor and debris may have traveled: under flooring, into subfloors and joists, behind baseboards, into wall cavities, through floor registers into ductwork, and into adjoining rooms or the unit below.
They also identify other hazards, such as needles, drug residue, structural damage, electrical hazards, pests or mold.
The assessment produces a scope of work and an estimate, with photos. For insurance claims, this documentation is the foundation of the claim.
Step 3: Planning and approvals
Before work begins, the scope is confirmed with you, and often with an insurer, landlord, property manager or executor. Decisions are made about which personal items to recover, what can be cleaned and what must be discarded, and how waste will be handled. If testing is planned, the targets are agreed in advance.
Step 4: Protecting people and the property
Crews set up a controlled work area:
- Containment with plastic sheeting and zippered doors isolates the contaminated area.
- Negative air machines with HEPA filtration can keep air moving into the work area, not out of it.
- Clean and dirty zones keep workers from tracking contamination out.
- Floor protection covers paths through unaffected areas.
- HVAC may be shut off or sealed to keep contamination from spreading.
Step 5: Recovering personal items
Before bulk removal, crews search for and set aside items the family or owner wants to keep, such as documents, photos, jewelry and keepsakes. Recovered items are cleaned where possible and logged.
Step 6: Removing contaminated materials
Porous materials that absorbed fluids generally can't be decontaminated and are removed. This often includes carpet and pad, mattresses and upholstered furniture, drywall cut to above the contamination line, insulation, baseboards and trim, and sometimes sections of subfloor. Removal is controlled and measured, taking contamination plus a margin and nothing more. Materials are bagged and handled according to the type of waste.
Step 7: Cleaning and disinfection
With contaminated materials gone, remaining surfaces are cleaned and disinfected:
- Clean to remove all visible residue. Disinfectants don't work well on soiled surfaces.
- Disinfect with EPA-registered products effective against the organisms of concern, keeping surfaces wet for the label's contact time.
- Repeat where needed, especially on rough or textured surfaces.
Structural wood and concrete that have been stained may be sealed after cleaning.
Step 8: Odor removal
Odor control comes after the source is removed. Methods include enzymatic treatments, sealing stained materials, HVAC cleaning and air treatment with hydroxyl generators or, in unoccupied spaces, ozone.
Step 9: Verification
Verification ranges from visual inspection to objective testing. Common options include ATP surface tests, which measure organic residue, and drug residue sampling when drugs were involved. For high-stakes situations, independent clearance testing by a third party provides the most credible result.
Step 10: Waste disposal and documentation
Regulated waste is packaged, labeled and transported for treatment and disposal according to state rules. Sharps go in approved containers. You receive documentation: what was removed and why, photos, waste records and any test results. This record supports insurance claims, sales, rentals and peace of mind.
Step 11: Handoff to rebuilding
Remediation ends with a clean, decontaminated structure, not a finished room. Rebuilding with new drywall, flooring, paint and fixtures is usually done by a separate contractor. A good handoff gives that contractor photos and a summary so they know what was done and where.
Working around investigations and insurers
When police, a medical examiner or a fire investigator has been involved, remediation starts only after the scene is formally released. Insurers may want their own adjuster to see the property before materials are removed. A good remediation company coordinates both, documenting conditions with photos before anything is disturbed and keeping a record of every decision. If urgent mitigation is needed first, such as extracting sewage or stopping odor from reaching neighbors, that work is photographed as it happens.
Communication during the project
Expect a single point of contact who tells you when crews will arrive, what they found, and whether the scope changed. Changes happen: once flooring is pulled up, contamination may turn out to reach farther than visible signs suggested. Any change in scope should be explained and approved before the additional work is done, with photos showing why it is needed.
How long it takes
Simple jobs, such as a small blood cleanup on hard flooring, can be finished in hours. A typical unattended death or crime scene often takes one to several days. Large projects, hoarding situations or drug lab decontamination can take a week or more, plus time for testing and repairs.
Questions to ask
- What did the assessment find, including hidden areas?
- What will be removed, and why?
- How will you protect the rest of the property?
- How will waste be handled?
- How will you verify the work is complete?
- What documentation will I receive?
Key takeaways
Biohazard remediation moves from assessment through containment, removal, cleaning, disinfection, odor control and verification, ending with documentation and a handoff to rebuilding. Each step exists to make sure contamination is actually gone, not just out of sight.
Sources
- OSHA: 29 CFR 1910.1030, Bloodborne Pathogens Standard
- OSHA: 29 CFR 1910.134, Respiratory Protection
- EPA: Selected EPA-Registered Disinfectants
- EPA: Medical Waste
- IICRC: ANSI/IICRC S500 Standard for Professional Water Damage Restoration
This guide is general information. It is not legal, medical, environmental or safety advice. Rules vary by state and locality. For a specific situation, consult the relevant agency or a qualified professional.